Peel and Stick Challenges and how to Solve Them
Real-world tips, common challenges, and how to get a beautiful result
At Koko Art Shop, we’ve seen thousands of successful wallpaper installations, and a few that didn’t go as planned. This guide includes years of customer service experience to help you avoid common pitfalls and get the most out of your wallpaper.
Installing wallpaper can be incredibly rewarding, but it does require preparation, patience, and the right expectations. Whether you're a total beginner or have experience with traditional wallpaper, peel-and-stick materials behave differently, and your wall condition matters more than you think.
We’re not here to scare you. We’re here to make sure you feel confident and informed before that first panel goes up.
Why You Should Always Check Your Order Before Installing
Before you pick up a squeegee or peel back the first corner of your mural, take a moment to lay everything out and check your order thoroughly. It might feel like an extra step, especially when you’re eager to get started, but this is one of the most important things you can do to ensure a smooth installation, and to avoid preventable stress later on.
Open your entire package and inspect each panel. Look at the panel numbers, check that the pattern flows from one to the next, and confirm that colors are consistent throughout. Even though our quality control is very thorough, human hands and printers are involved, so it’s always best to double-check before anything goes on your wall.
Lay out your wallpaper panels on the floor before installing. Arrange them in order to check how the design flows from one panel to the next. This quick step will help you catch any potential issues like misalignment, rotated panels, or missing sections before you're on a ladder mid-install.
If you don’t have a large space or an empty room, find an area where you can lay out at least two panels at a time and review them in sections. It’s a small effort that can make a big difference in ensuring your mural installs smoothly and looks exactly as intended.
What Not to Do
-
Don’t install panels horizontally unless you have professional experience
-
Don’t apply extra wallpaper glue to peel and stick, it can cause chemical reactions or foul odors
-
Don’t use peel and stick to cover active wall cracks or expansion joints
-
Don’t attach shelves, hooks, or heavy items directly to the wallpaper
If you must use adhesives for décor, secure them to the wall, not the wallpaper.
Common Challenges & How to Solve Them
1. Improper Surface
Removable Peel and Stick wallpaper will fail on textured walls. Common texture types include:
-
Orange peel
-
Knockdown
-
Popcorn
-
Slap brush
-
Sanded or gritty surfaces
These surfaces prevent full contact, weakening adhesion and causing wallpaper to lift over time.
Solution:
-
For textured walls, choose our Long Term Peel and Stick, it’s specifically designed for stronger adhesion
-
Do not attempt to use Removable Peel and Stick on any wall that isn’t smooth, clean, and dry
Even if the wall appears mostly flat, a light texture can make a big difference. If in doubt, request a sample first.
2. Incorrect Measurements
Relying on mobile apps to measure walls often leads to underordering.
Solution:
-
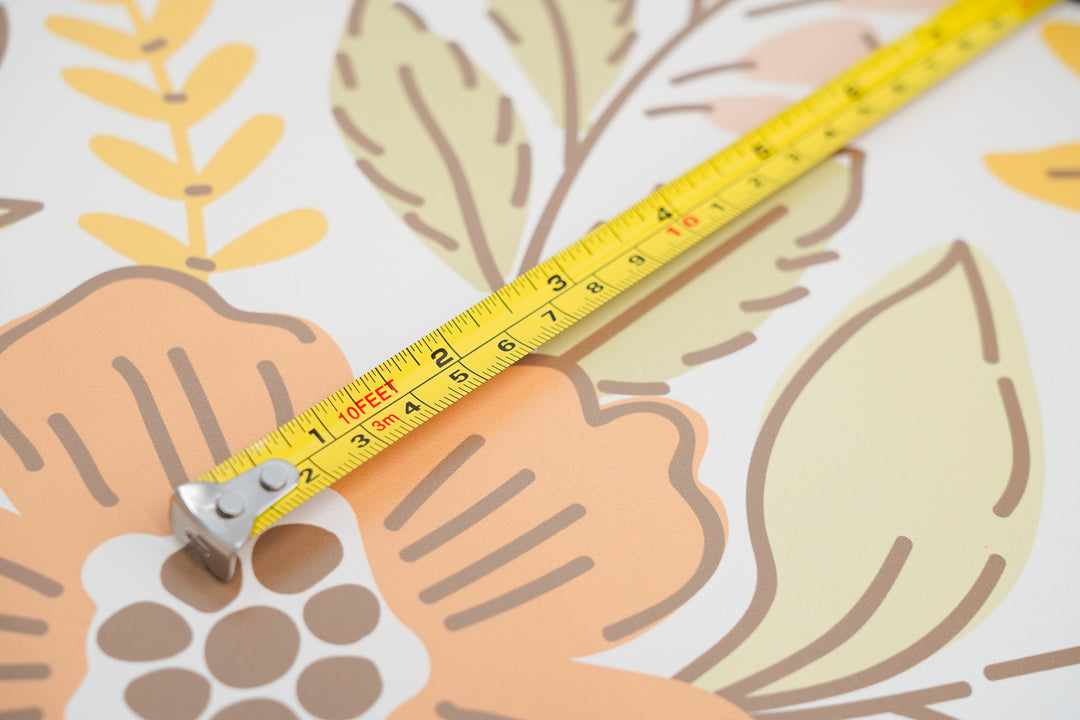
Use a measuring tape only
-
Measure both the widest and tallest points
-
Include extra inches for trimming (especially important for older homes or uneven ceilings)
-
Refer to our How to Measure Your Space guide for visual support
If you've already received your wallpaper and noticed the measurements are off: Mistakes happen, and if you find that you've under-ordered or need to adjust for an overlooked area, you can easily order reprints or add-ons using this link: Order Re-Prints and Add-Ons. This option allows you to continue your project without starting from scratch. Just follow the prompts and include your original order details to ensure a smooth reprint process.
3. Misalignment
Open and check the full order before installing. Extend your panels on the floor and check panel match thought all your wallpaper. If your order is as expected before installation but you are having troubles during the process check all the points below:
Wallpaper stretching:
The issue: Peel and stick wallpaper is made from flexible vinyl materials, which means it can stretch slightly during installation — especially tall panels. Typically, this stretch ranges from 1 to 2 millimeters over a height of 8 to 9 feet. This may cause what looks like a misalignment between panels, particularly toward the bottom, even if the tops are perfectly matched.
The cause: The stretching usually happens as the backing paper is removed. If this is done unevenly or with excessive force, the material may distort slightly, creating inconsistencies in alignment.
The solution:
-
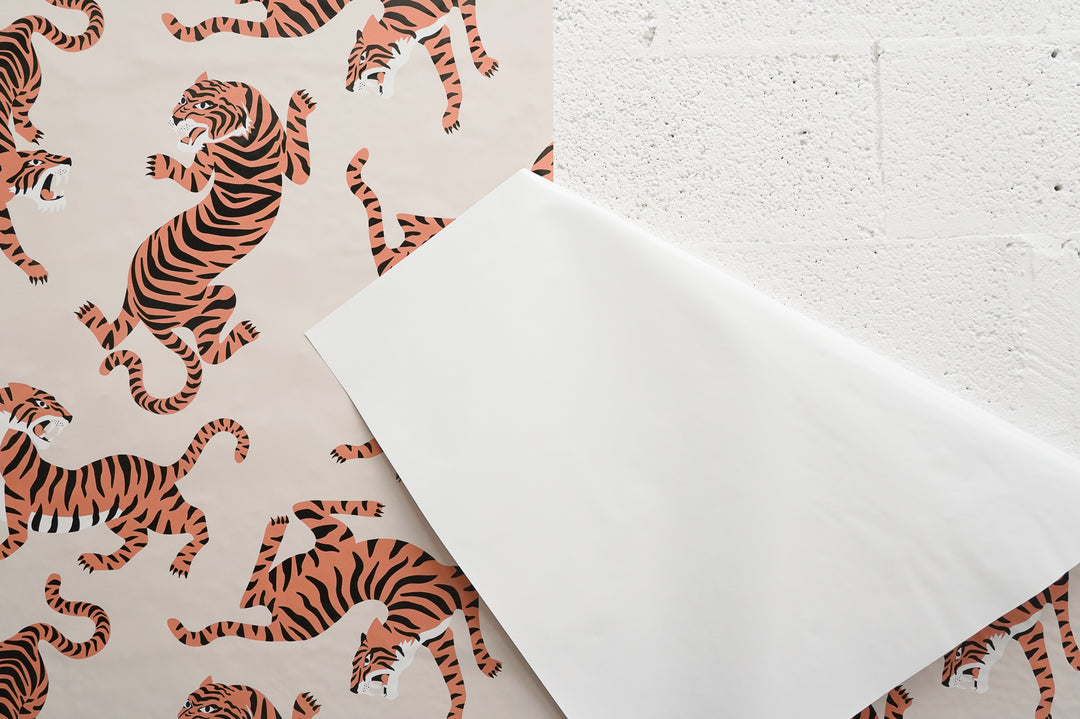
Always remove the backing paper gently and evenly, using both hands in a horizontal, parallel motion
-
Maintain equal tension across both sides — never pull from just one corner or favor a side
-
Expect some light resistance, but avoid pulling hard; if it feels too tight, you’re likely stretching the material
-
As you smooth the wallpaper down the wall, you will often see the minor misalignment correct itself naturally
Tip: This type of stretching is uniform across all panels, so alignment will still be possible if you remain consistent and patient in your method. Trust the process and focus on smooth, controlled movements to allow the material to settle correctly.
Wallpaper not aligning properly in some areas:
The issue: Wallpaper not aligning properly in some areas during installation is a common concern ,and it’s not always the wallpaper’s fault. Even if the repeat was checked beforehand, wall imperfections can interfere with proper panel alignment.
The cause: Most walls are not perfectly flat, even if they appear so at first glance. Matte paints, in particular, can mask surface bumps, dips, or warps. When wallpaper is applied, these irregularities become far more noticeable, often resulting in sections where alignment fails or creases form.
The solution:
-
Pros should assess walls beforehand. A trained installer will spot imperfections early and recommend surface preparation like skim coating, sanding, and priming to create a smooth surface.
-
DIYers should inspect walls carefully for dips, bumps, or inconsistent texture. Use a flashlight across the surface to reveal hidden irregularities.
-
If misalignment occurs during installation:
-
Do not stretch or force the wallpaper to match, this can create tension and further issues
-
Instead, align the artwork as best as possible without pulling, and continue with the rest of the installation
-
Often, these problem areas are minor and will be far less noticeable once the mural is complete and viewed as a whole
-
If the wall condition proves too problematic mid-installation, it may be necessary to pause, reassess, or seek professional help. Sometimes pausing an install temporarily to address the wall properly can save the entire project.
Wallpaper aligning at the top but not the bottom:
The issue: You start installing a tall panel of wallpaper and everything looks perfect at the top, only to discover that the bottom no longer aligns with the adjacent panel. This can be incredibly frustrating, especially if you're detail-oriented.
The cause: Wallpaper installation is highly sensitive to the angle and precision of your starting point. Even a slight misalignment — as little as one degree off — at the top can result in noticeable gaps or overlap at the bottom. This is more common with tall panels and intricate patterns.
The solution:
-
Never install tall panels alone. Ask for help, even if you consider yourself handy. Two sets of eyes and hands make a big difference in alignment.
-
Use a level and mark a vertical guideline on your wall before installing your first panel. This helps ensure you're starting exactly straight.
-
Work slowly and check your progress every few feet as you go down the wall
-
Allow 1 hour per panel for installation to reduce stress and avoid rushing, some designs take longer than others to align perfectly
Planning your time and having help on hand can transform your experience from frustrating to rewarding.
4. Wallpaper failure
Removable wallpapers falling off textured walls is a well-documented and easily diagnosed issue: textured surfaces simply don’t allow enough contact for the adhesive to hold. But what if your wall is smooth and your wallpaper still starts peeling off after a few days or weeks?
Let’s break it down.
The Issue:
Your wallpaper initially installs fine but begins to lift off over time, sometimes suddenly and seemingly without reason.
The Reality:
When removable peel and stick wallpaper detaches from a smooth wall, the problem is almost never the wallpaper itself. If the material were defective, you wouldn’t be able to install it in the first place, it simply wouldn’t adhere at all. Instead, delayed failure is almost always the result of one of these factors:
Potential Causes of Adhesion Failure
Not Smoothing Properly During Install
A smooth install requires more than placing the panel on the wall it must be firmly pressed into place.
Why it matters:
Proper smoothing activates the adhesive and helps it make full contact with the surface. If skipped or done too gently, the wallpaper may lift at the edges or sag in the middle.
Solution:
-
Use a felt-edge smoothing tool or plastic squeegee
-
Apply firm, even pressure across the full panel
-
Smooth from the center outward to push out air bubbles
Dusty or Dirty Walls
Even if your wall looks clean, fine dust can prevent adhesion.
Why it matters:
If wallpaper is applied over dust, it sticks to the dust — not the wall. Once removed, dust cannot be wiped from the adhesive, meaning the bond is permanently compromised.
Solution:
-
Always clean the wall before installing
-
For best results, wipe with a cloth dampened in 70% rubbing alcohol and let it dry completely
-
If any recent construction or renovations occurred, clean thoroughly, even high shelves and baseboards where dust can travel
Recently Painted Walls
Paint can appear dry long before it truly is.
Why it matters:
Freshly painted walls continue to emit low-grade fumes for several weeks. These fumes become trapped under the wallpaper and can cause bubbling, adhesive failure, and long-term damage to the wallpaper itself.
Solution:
-
Wait at least 4 weeks after painting before applying any peel and stick wallpaper
-
When in doubt, wait longer or test a sample area
Low or Zero VOC Paints
These eco-friendly paints are great for health, but difficult for wallpaper.
Why it matters:
Low-VOC or Zero-VOC paints often create a barrier that peel and stick adhesives can’t grip effectively, causing lifting within days or weeks.
Solution:
-
Wipe the wall with 70% rubbing alcohol before installation
-
Let dry completely before applying wallpaper
-
If adhesion issues persist, consider switching to a traditional wallpaper material
Scuff Defense and Stain-Blocking Paints
These paints are designed to resist everything, including adhesives.
Why it matters:
They repel stickiness, so wallpaper will not bond well. Even if the install seems fine at first, these paints can cause slow-release lifting or peeling under stress.
Solution:
Use the rubbing alcohol wipe-down method or switch to a traditional wallpaper if needed. Always test a sample first.
Damaged or Cracked Paint
Wallpaper is not a patch or repair solution.
Why it matters:
If your wall has peeling paint, cracks, or damage, the wallpaper will bond to the unstable surface and fall with it.
Solution:
Repair the wall first: patch cracks, sand rough areas, and prime before applying wallpaper.
Drastic Temperature Changes
Extreme shifts in temperature, especially right after installation, can break the adhesive bond.
Why it matters:
Vinyl-based materials expand and contract with heat and cold. Rapid changes stress the adhesive before it has time to fully set.
Solution:
-
Don’t install wallpaper near space heaters, radiators, or unregulated spaces
-
Keep the room temperature consistent (ideally between 65°F and 75°F) during and for 48 hours after install
Humidity Exposure
Bathrooms, laundry rooms, and poorly ventilated areas pose a challenge.
Why it matters:
High humidity can loosen adhesives and cause wallpaper to peel or bubble. Water vapor can also seep behind panels, weakening the bond over time.
Solution:
-
Avoid using Removable Peel and Stick in high-moisture rooms
-
For humid spaces, use Long Term Peel and Stick or Traditional Wallpaper
Covering Structural Wall Cracks
This might seem harmless, but it’s risky.
Why it matters:
Cracks in the wall often signal expansion or contraction due to shifting foundations or moisture. Wallpaper installed over these areas is likely to fail as the crack reopens or moves.
Solution:
Patch and stabilize cracks before wallpapering. Use professional-grade products to ensure long-term stability.
Attaching Objects to the Wallpaper
Don't use wallpaper as a base for hanging items.
Why it matters:
Even small objects hung with adhesive hooks or double-sided tape can pull the wallpaper away from the wall under their weight.
Solution:
Always attach decor, shelves, or hooks directly to the wall, not the wallpaper. For decorative wall elements, pre-plan anchor points and cut the wallpaper around them.
5. Extra Glue to Peel and Stick Wallpaper
Peel and stick wallpapers are engineered to work exactly as their name suggests: you peel the backing paper and stick the panel directly to the wall, no additional adhesives required or recommended.
The Issue:
Sometimes, especially when working with professional installers who are more familiar with traditional wallpaper, extra wallpaper paste or glue may be added in an attempt to improve adhesion.
The Consequences:
Adding extra glue to a peel and stick product is not only unnecessary, it can actively damage the wallpaper. Here’s what can happen:
-
Bubbles forming under the surface after installation
-
Poor adhesion or wallpaper not sticking at all
-
Abrupt or partial detachment from the wall
-
Discoloration or adhesive breakdown
-
In some cases, strong chemical odors may develop over time
Real Case Scenarios:
We’ve had several customers report mysterious chemical smells or wallpaper failure weeks after installation, all of whom confirmed that a professional installer had applied extra glue to the peel and stick panels. While the exact type of adhesive used was often unknown, these outcomes suggest a chemical reaction between the glue and the vinyl or the wallpaper’s pressure-sensitive adhesive.
Once the glue interacts with the material, the damage is often irreversible. Peel and stick adhesives are formulated for dry application only. Introducing moisture, solvents, or foreign binders alters the chemistry and compromises performance.
The Solution:
If you feel your wall surface requires additional help for adhesion or if you're dealing with a challenging wall type, you should not "boost" peel and stick with extra glue. Instead:
-
Choose one of our Traditional Wallpaper options
These are specifically designed to work with paste and can be installed using as much adhesive as needed. -
Prepare your wall properly: clean, dry, smooth, and fully cured after painting
-
Use the correct wallpaper type for your surface: our Long Term Peel and Stick is better suited for difficult walls like lightly textured surfaces or low VOC paints
6. Horizontal Installation
Please don’t do this if you are new to wallpaper. It looks like a good idea for some spaces. Unfortunately you will be working against gravity. A horizontal installation in peel and stick wallpaper is extremely difficult without experience.
7. The wrong professional
We have an article dedicated to this topic entirely Click Here.
A wallpaper installer unfamiliar with peel and stick materials can unintentionally ruin your order. Peel and stick behaves differently from pasted wallpaper, it requires precision and care. While it’s a convenient and attractive option for many homes, it’s important to note that peel and stick is not considered a professional-grade wallpaper.
Avoid:
-
General handymen or contractors without wallpaper experience
-
Installers who treat peel and stick like traditional paste wallpaper adding extra glue for installation
Look for:
-
A pro who will inspect the wall condition first
-
Someone willing to read our instructions and ask questions
-
An installer who works with peel and stick materials
When to Avoid Installation or Use a Different Material
There are specific conditions where peel and stick wallpaper is not recommended:
-
Low VOC or Scuff-Defense paints: These repel adhesives. Clean thoroughly with alcohol or consider Traditional Wallpaper instead
-
Drastic temperature shifts: Avoid installing near heaters, AC units, or in unregulated garages or sunrooms
-
High humidity spaces: Removable wallpaper may lift in steamy bathrooms; choose Long Term or Traditional materials
-
Cracked or flaking walls: Address wall repairs first, wallpaper will not act as a patch
Final Thoughts
This article is a living resource, compiled from years of direct customer service logs, installation feedback, and troubleshooting scenarios. While the majority of our customers experience smooth, beautiful results, we’ve seen where things can go wrong, and we want to help you avoid them.
The best way to ensure success?
-
Order samples and test them on your actual wall
-
Read the instructions completely before starting
-
Ask questions, we’re here to help
Some customers breeze through installation with ease, while others hit snags due to overlooked wall prep or a small misunderstanding. Each experience is personal, and every wall behaves a little differently.
If you’ve followed all the guidance and still encounter a problem, don’t panic. Contact us with photos and as much detail as possible, and we’ll do our best to assist you.
We believe in transparency, support, and setting you up for success.
Have a question not covered here? Contact us anytime at support@kokoartshop.com we’d love to hear from you!
Also this article is a growing compilation, we add to it each time new issues arise.



Peel and stick is the worst thing to ever come along. Been installing professionally for almost 50 years. If asked to hang peel and stick I use to kindly refuse. Now I just peel off the backing, add glue to the back just like any other wallpaper and im done. Nothing to it. I do charge extra for the time and disposal of all the wasted paper pulled off the back
I am having trouble separating the wallpaper from the adhesive protective backing. I cannot get an edge to come undone. I have scored it, wet it & used a blow dryer. Please kindly advise me of how to separate it.
So, my mom strolled into my room and gave it the once-over, declaring it needed a serious style upgrade. She’s on this whole “let’s jazz up the place” kick, eyeing the bland walls like they committed a crime. Now, she’s all hyped up about getting a wallpaper glow-up next week, and I’m just here for the spontaneous burst of interior design enthusiasm. I just hope she knows what you mean by how some wallpapers are only meant to be used on painted walls; they are not meant to be used to replace or repair previously existing wallpaper or wall coverings. https://www.hobartpaintinganddecorating.com.au/services
The plastic smoothing tool My installer is using is smearing the Color of the printed fish onto the white background Of the vinyl paper !! Plus hanging this paper horizontally is hard !!!! I can already tell it’s not sticking well . Walls have a thin plaster coat .😩🥺
Can I put self adhesive wallpaper over goboard?
Leave a comment